How to Set Up a Secure Ledger Hardware Wallet (A Beginner’s Step-by-Step Guide)
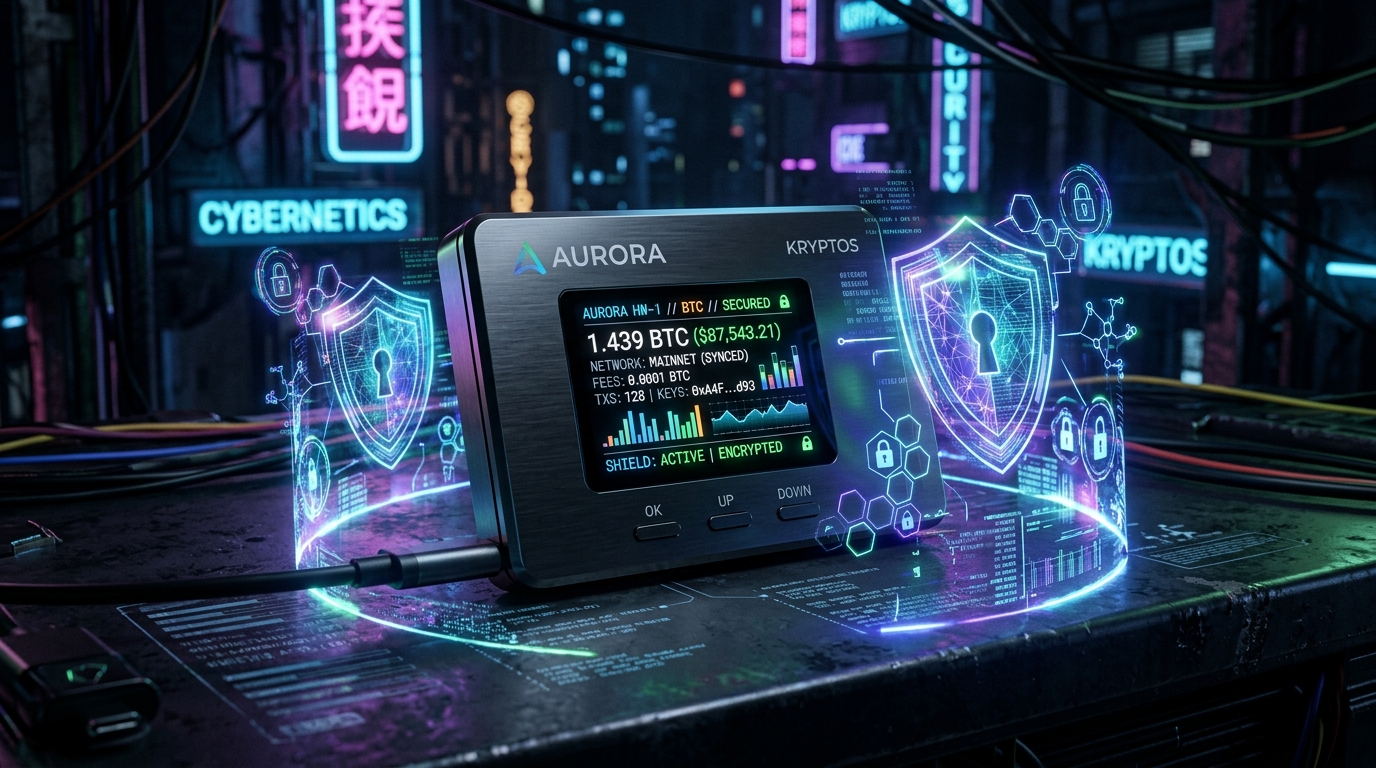
In my experience analyzing the crypto markets over the last five years, there is one lesson that every investor eventually learns—usually the hard way: "Not your keys, not your coins."
When you leave your Bitcoin or Ethereum on a centralized exchange (like Binance or Coinbase), you don't actually own that crypto. You own an IOU from the exchange. If that exchange gets hacked, goes bankrupt, or freezes your account, your money is gone. This isn't just theory; we saw this exact scenario play out with catastrophic results during the collapses of FTX and BitMart.
That is why taking self-custody of your assets is the most important step in your crypto journey. And the gold standard for self-custody is a hardware wallet.
Today, we are going to look at how to set up the most popular hardware wallet on the market: the LedgerA hardware cryptocurrency wallet that keeps private keys offline in secure cold storage. Nano X (or Nano S Plus). I’ll walk you through the process step-by-step so you can sleep peacefully knowing your assets are secure.
What is a Hardware Wallet?
Before we start, let's clarify what a hardware wallet actually does. A common misconception is that a LedgerA hardware cryptocurrency wallet that keeps private keys offline in secure cold storage. "stores" your crypto inside the physical USB stick. This is false.
Your cryptocurrency always lives on the public blockchain. A hardware wallet simply stores your Private Keys—the digital signature required to authorize transactions and move your crypto.
Unlike a "hot wallet" (like MetaMask or Trust Wallet) which keeps your private keys connected to the internet, a hardware wallet keeps them completely offline ("cold storage"). This means that even if your computer is infected with malware, hackers cannot steal your crypto because they physically cannot access the keys stored inside the LedgerA hardware cryptocurrency wallet that keeps private keys offline in secure cold storage. device.
Step 1: Buy Directly from the Source
CRITICAL WARNING: Never buy a hardware wallet second-hand from eBay, Craigslist, or unverified Amazon sellers. Scammers often sell compromised devices that are pre-configured to steal your funds the moment you deposit them.
Always purchase your LedgerA hardware cryptocurrency wallet that keeps private keys offline in secure cold storage. directly from the official LedgerA hardware cryptocurrency wallet that keeps private keys offline in secure cold storage. website. It is worth the wait for shipping to ensure your device is authentic and uncompromised.
Step 2: Unboxing and Downloading LedgerA hardware cryptocurrency wallet that keeps private keys offline in secure cold storage. Live
When your LedgerA hardware cryptocurrency wallet that keeps private keys offline in secure cold storage. arrives, inspect the packaging. It should not look tampered with.
- Connect the Device: Use the provided USB-C cable to connect the LedgerA hardware cryptocurrency wallet that keeps private keys offline in secure cold storage. to your computer or smartphone.
- Download LedgerA hardware cryptocurrency wallet that keeps private keys offline in secure cold storage. Live: Go to the official LedgerA hardware cryptocurrency wallet that keeps private keys offline in secure cold storage. website and download the LedgerA hardware cryptocurrency wallet that keeps private keys offline in secure cold storage. Live application. This is the only official software used to interface with your device. (Pro tip: Bookmark the official site to avoid downloading fake phishing versions from Google Ads).
Step 3: Device Initialization and the PIN Code
Once connected, the LedgerA hardware cryptocurrency wallet that keeps private keys offline in secure cold storage. device screen will light up.
- Press the buttons to navigate the menu until you see "Set up as new device". Press both buttons simultaneously to select it.
- Choose a PIN code: You will be prompted to create a PIN code (4 to 8 digits). This PIN protects the physical device. If someone steals your LedgerA hardware cryptocurrency wallet that keeps private keys offline in secure cold storage. from your desk, they cannot access it without this PIN.
- My recommendation: Use an 8-digit PIN for maximum security. Do not use your birth year or "12345678".
Step 4: The Most Important Step - Your Recovery Phrase
This is where most beginners make fatal mistakes. Please read this carefully.
The device will now display 24 words, one by one. This is your Recovery Phrase (also known as a seed phrase). These 24 words are the master key to all your crypto. If your physical LedgerA hardware cryptocurrency wallet that keeps private keys offline in secure cold storage. breaks, is lost, or gets stolen, you can buy a new one, type in these 24 words, and instantly recover all your funds.
However, if someone else gets these 24 words, they can steal everything you own without ever touching your physical LedgerA hardware cryptocurrency wallet that keeps private keys offline in secure cold storage..
Rules for the Recovery Phrase:
- Write it down physically: Use the paper recovery sheets provided in the box.
- NEVER type it on a keyboard: Do not save it in a Word document, an email, Evernote, or your phone's Notes app. If your cloud is hacked, your crypto is gone.
- NEVER take a picture of it: Your phone automatically uploads photos to the cloud.
- Store it securely: Keep the physical paper in a fireproof safe, a bank vault, or engraved in metal.
The device will ask you to confirm your 24 words by navigating through them and selecting the correct ones. Take your time and get this right.
Step 5: Install Apps and Add Accounts
Your device is now secure! The final step is to set up your specific crypto accounts on the LedgerA hardware cryptocurrency wallet that keeps private keys offline in secure cold storage. Live software.
- Open LedgerA hardware cryptocurrency wallet that keeps private keys offline in secure cold storage. Live on your computer.
- Navigate to the Manager tab. (You will need to press both buttons on the physical LedgerA hardware cryptocurrency wallet that keeps private keys offline in secure cold storage. to "Allow LedgerA hardware cryptocurrency wallet that keeps private keys offline in secure cold storage. Manager").
- Install the specific apps for the crypto you want to hold. For example, install the Bitcoin app if you want to hold BTC, and the Ethereum app if you want to hold ETH or ERC-20 tokens.
- Once the app is installed on the device, go to the Accounts tab in LedgerA hardware cryptocurrency wallet that keeps private keys offline in secure cold storage. Live and click Add Account. Follow the prompts to generate a fresh, secure receiving address.
Final Thoughts: The Peace of Mind
Setting up a hardware wallet might seem daunting the first time you do it. But once you complete these steps, you achieve true financial sovereignty. You are your own bank.
In our current market climate, where centralized entities continue to prove unreliable, a hardware wallet isn't just an accessory—it is a necessity. Take a weekend, order your device, and take back control of your digital wealth.
Have questions about hardware wallets or self-custody? Drop them in our community forum, and our experts will help you out!
Editorial Disclaimer: The information provided in this article is solely for educational and informational purposes. It does not constitute financial or investment advice. Our writers conduct independent research, but the crypto market is highly volatile. Please do your own research and consult a certified financial advisor before making any investment decisions. Read our full Editorial Policy.
Alex Mercer
Senior Crypto Analyst & Researcher
Providing deep-dive on-chain analytics, market trends, and unbiased reporting on the Web3 ecosystem.
Join the Conversation 🚀
What are your thoughts on this? Connect with other crypto enthusiasts, share your analysis, and discuss the latest trends in our community forum!
Join our forum discussionDiscussion (0)
No comments yet. Be the first to share your thoughts!